
The modern home office runs on documents. Tax records, client contracts, delivery confirmations, utility bills, medical paperwork — the flow of physical paper never quite stops, even in a world that has been declaring itself “going paperless” for two decades. What does stop, or at least slows to a manageable pace, is the time you spend dealing with that paper. Epson Event Manager is the quiet, powerful piece of software that makes managing scanned documents from your Epson device fast, consistent, and nearly effortless.
Most home office users who have an Epson scanner or multifunction printer have Event Manager installed without having configured it thoughtfully. It came along as part of the driver bundle, sits in the system tray, and does not do much more than allow the device’s scan button to work. This guide changes that. By the end, you will have Event Manager configured as a genuine document management hub — one that can save hours of repetitive work each month.
Understanding What Epson Event Manager Actually Does
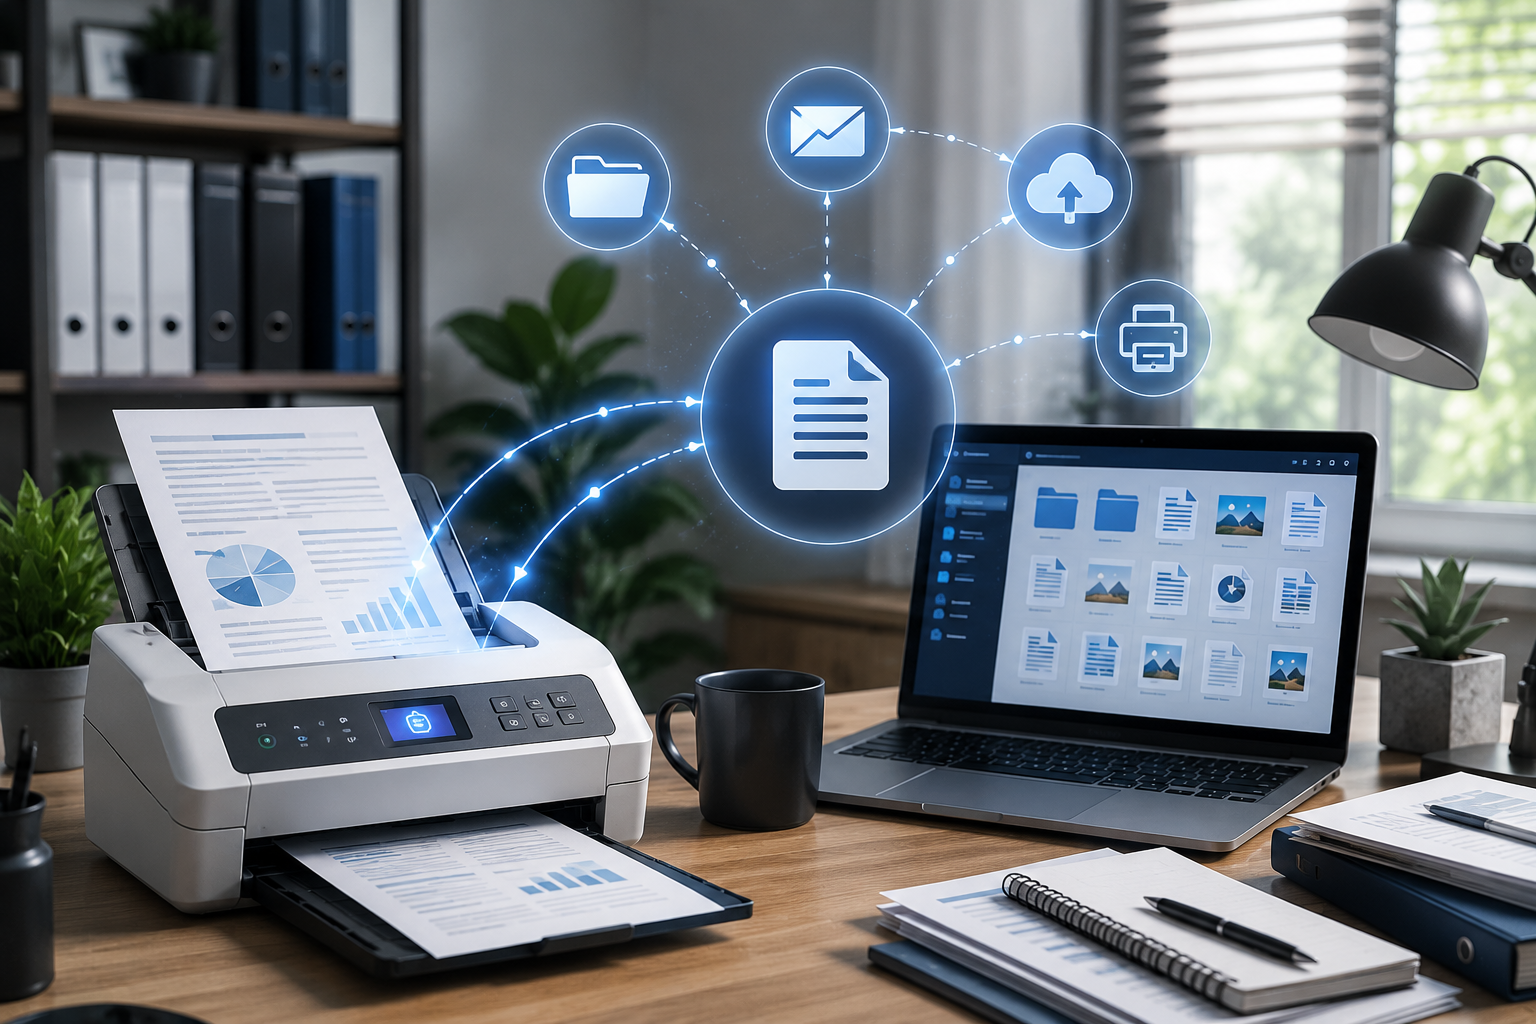
Epson Event Manager functions as a command center for your Epson scanning device. Its core job is to listen for events from the scanner — primarily button presses on the device’s physical control panel — and respond to them by launching specific actions.
In practical terms, this means:
- You press the Scan button on your Epson printer or scanner.
- Event Manager intercepts that press.
- It launches the scanning action or application you have previously configured for that button.
- The document is scanned and handled according to your settings — saved to a folder, emailed, uploaded to the cloud, converted to PDF, or opened in a specific application.
Without Event Manager, pressing the scan button on your device does nothing or launches a generic scanning dialog. With Event Manager properly configured, a single button press can kick off a complete document management workflow.
The current version of Epson Event Manager for Windows is 3.11.82 and for Mac 2.51.92. Both are available for download at epsoneventmanager.com.
Setting Up Epson Event Manager: The Foundation
Installation and First Configuration
If Event Manager is not already on your system, download it from epsoneventmanager.com and run the installer. The process is straightforward: run the executable, accept the license agreement, follow the wizard to completion, and the software will install and launch automatically.
Event Manager runs as a background process and is accessible from the Windows system tray (the icon area in the bottom-right corner of your taskbar) or from the Mac menu bar. Right-clicking the tray icon opens the main Event Manager window where all configuration takes place.
The Main Event Manager Window
Opening the full Event Manager interface reveals a list of “events” — each one corresponds to a possible trigger from your scanner. The most common events are button presses: Scan Button 1, Scan Button 2, and so on depending on how many scan-related buttons your device has.
Each event row shows:
- Button Name: Which button or action triggers this event
- Action: What happens when that button is pressed (launch an application, save to folder, send via email, upload to cloud, etc.)
- Settings: Resolution, color mode, file format, and other scan parameters
Click on any event to edit it and assign your preferred action.
Configuring Events for a Home Office Workflow
Here is how to configure Event Manager buttons for the most common home office document scenarios.
Scenario 1: One-Click PDF to Folder
This is the most universally useful configuration. A single button press scans a document and saves it as a PDF to a designated folder on your computer or network drive.
- Open Event Manager and select the scan button you want to configure.
- Under Action, choose Save as file.
- Set the format to PDF.
- Choose a save location — for example,
Documents/Inbox/Scanned— a dedicated folder that you process weekly. - Set resolution to 200 DPI for standard text documents (300 DPI if you plan to apply OCR later).
- Set color mode to Grayscale for text-only documents or Color if your documents contain color elements.
- Enable Auto Naming with a date-based pattern so files are automatically named with the scan date.
- Save the event settings.
Now a single button press on your scanner does the entire job: it scans the document, creates a PDF, and drops it in your inbox folder with a meaningful filename.
Scenario 2: Scan to Email
For documents you regularly need to share immediately after scanning — signed contracts, completed forms, verification documents:
- Select your event and choose Attach to email as the action.
- Specify the recipient email address if you always send to the same person (e.g., your accountant), or leave it blank to open your default email client with the scan attached so you can choose the recipient each time.
- Set the format to PDF and resolution to 200–300 DPI.
- Save the settings.
When you press the scan button, Event Manager will attach the scanned PDF to a new email in your default mail client (Outlook, Thunderbird, Apple Mail, etc.), ready to address and send.
Scenario 3: Scan to Cloud via Epson ScanSmart
Epson ScanSmart (the dedicated scanning application that works alongside Event Manager) provides cloud upload destinations. You can configure Event Manager to launch ScanSmart automatically when the scan button is pressed, and then let ScanSmart handle the cloud upload.
- Set the action to Open with application and select Epson ScanSmart from the application list.
- Configure ScanSmart separately with your preferred cloud destination (Google Drive, Dropbox, OneDrive, Evernote, SharePoint).
- After pressing the scan button, ScanSmart opens with the scanned image loaded and ready to upload with a single click.
Scenario 4: Multi-Profile Button Assignment
Many Epson devices have more than one scan-related button or allow you to toggle between different button functions. Take advantage of this to set up multiple workflows:
- Button 1: Scan to PDF → Documents/Inbox (for general documents)
- Button 2: Scan to Email → Your accountant (for financial documents)
- Button 3: Scan at high resolution → Photo folder (for photos and images)
This multi-profile setup means you never need to touch your computer to manage routine scanning tasks.
Advanced Features: Getting More From Event Manager
Using OCR for Searchable PDFs
While OCR processing is primarily handled by Epson ScanSmart (with Kofax OmniPage technology), Event Manager can be configured to automatically launch ScanSmart’s OCR workflow. The result is a fully searchable PDF — a document where the text is embedded as actual characters, not just as pixels in an image.
Searchable PDFs are vastly more useful than image-only PDFs for any home office context:
- Tax documents become searchable by amount, date, or vendor name.
- Contracts can be searched for specific clauses.
- Medical records can be searched by condition, medication, or doctor name.
The practical implication: when you need a specific document six months later, you can find it in seconds with your operating system’s or cloud service’s search function rather than opening files one by one.
Automatic Document Detection and Cropping
Event Manager works in conjunction with Epson Scan 2 to provide automatic document detection — the software identifies the edges of your document and crops the scan accordingly, removing white borders and ensuring you get a clean, properly sized output. This feature works automatically for most standard document sizes (A4, Letter, Legal) and requires no manual adjustment.
Duplex Scanning Configuration
If your Epson device supports automatic duplex scanning (scanning both sides of a page without manually flipping it), Event Manager can be set to enable this automatically when the scan button is pressed. Look for the Document Source setting within the event configuration and select ADF – Double-sided or similar.
For home office users who regularly scan contracts, brochures, or two-sided forms, enabling duplex scanning through Event Manager cuts scanning time in half.
Scheduled and Triggered Scans
While Event Manager primarily responds to manual button presses, advanced users can combine it with Windows Task Scheduler to trigger scanning actions at specific times — useful for batch scanning at set intervals or triggering a scan from a remote management script. This level of automation is more relevant for small business environments than solo home offices, but worth knowing about.
Integrating Event Manager With Your Home Office Productivity Stack
Microsoft Office Integration
Documents scanned through Event Manager and ScanSmart with OCR enabled can be saved directly as Word (.docx) or Excel (.xlsx) files. This is particularly useful for:
- Scanned meeting notes you want to edit in Word
- Printed data tables you want to analyze in Excel
- Handouts and reports from conferences that you want to incorporate into your own documents
From Event Manager, configure the action to launch ScanSmart and then select the appropriate output format before saving.
Document Management Systems
For home office users who have invested in a document management solution such as Paperport, FileCenter, or even a well-structured cloud folder system, Event Manager can be configured to deposit scanned files directly into the DMS’s monitored inbox folder. The DMS then processes the incoming file according to its own rules — filing it, tagging it, or applying OCR as configured.
Backup Integration
Configure Event Manager to save scans to a folder that is automatically synced by your backup or cloud service (Backblaze, Time Machine, Google Drive Backup, OneDrive). This ensures every scanned document is automatically backed up without any additional steps.
Troubleshooting Event Manager in a Home Office Setup
Scan Button Does Not Respond
This is the most common issue and almost always has a simple cause. Check that:
- Event Manager is running (look for its icon in the system tray).
- Your Epson device is powered on and connected (USB or network).
- No other scanning application has claimed control of the device’s buttons (some third-party software can conflict with Event Manager).
- The correct event is configured in Event Manager for your specific button.
If Event Manager is not in the system tray, it is not running. Locate it in your Start Menu > Epson Software and launch it. Consider adding it to your Windows startup items so it launches automatically when your computer starts.
Scans Save in Wrong Location
Open Event Manager, locate the event for your scan button, and verify the save path. File paths that contain special characters or that point to network drives that are not always available can cause saves to fail silently. Use a simple local folder path as a safe default.
Poor Scan Quality
Event Manager’s event settings control the scanning parameters. Open the event configuration and increase the resolution (to 300 DPI for sharper text) or switch the color mode (to Color if your document has color elements that are being lost in grayscale mode). Also clean the scanner glass, which is a surprisingly frequent cause of quality issues.
Event Manager Not Detecting Scanner After System Update
Windows updates occasionally reset or reinstall network and USB drivers, which can cause Event Manager to lose track of the scanner. Try unplugging and replugging the USB cable (for USB-connected scanners), or power cycling the scanner and router (for network-connected models). If the issue persists, reinstall Epson Scan 2 first, then reinstall Event Manager.
Building a Sustainable Home Office Filing System
Event Manager is the tool that digitizes your paper, but the system that makes digitized paper useful is your folder structure and naming convention. Here is a simple, proven setup for home office users:
Root Folder: Documents/ScannedDocuments/
Subfolders:
Financial/(bank statements, invoices, receipts)Tax/(organized by year:Tax/2025/,Tax/2026/)Medical/Legal/(contracts, leases, official correspondence)Household/(utilities, insurance, warranties)Work/(client documents, business correspondence)Inbox/(unprocessed scans — review weekly and file to the correct subfolder)
Configure Event Manager to drop all scans into the Inbox/ folder by default. Reserve a few minutes each week to review the inbox, rename files clearly, and move them to the appropriate subfolder. This weekly maintenance routine keeps the system from becoming overwhelming.
The Cumulative Value of a Well-Configured Event Manager
The benefits of properly configuring Epson Event Manager are cumulative. In the first week, you save a few minutes on each scanning task. Over months, those minutes add up to hours. Over years, you build a fully searchable, cloud-backed archive of every document you have ever needed to keep — accessible from any device, instantly searchable, and safe from the physical disasters (fire, flood, loss) that make paper filing genuinely risky.
The most successful home office document systems are not the most complex ones. They are the most consistent ones. Epson Event Manager, set up once with clear workflows, runs reliably in the background and makes every document you scan part of that consistent system.